Landcruiser 105 FTE with Ford 6R80 6 speed auto

We have the 6 speed auto running in our upgraded 1HDFTE powered Landcruiser 105 so before it goes in for a +300kwatw tune here is a bit of backstory. The plan is to provide adapters and setup for people interested in installing into their Landcruisers.

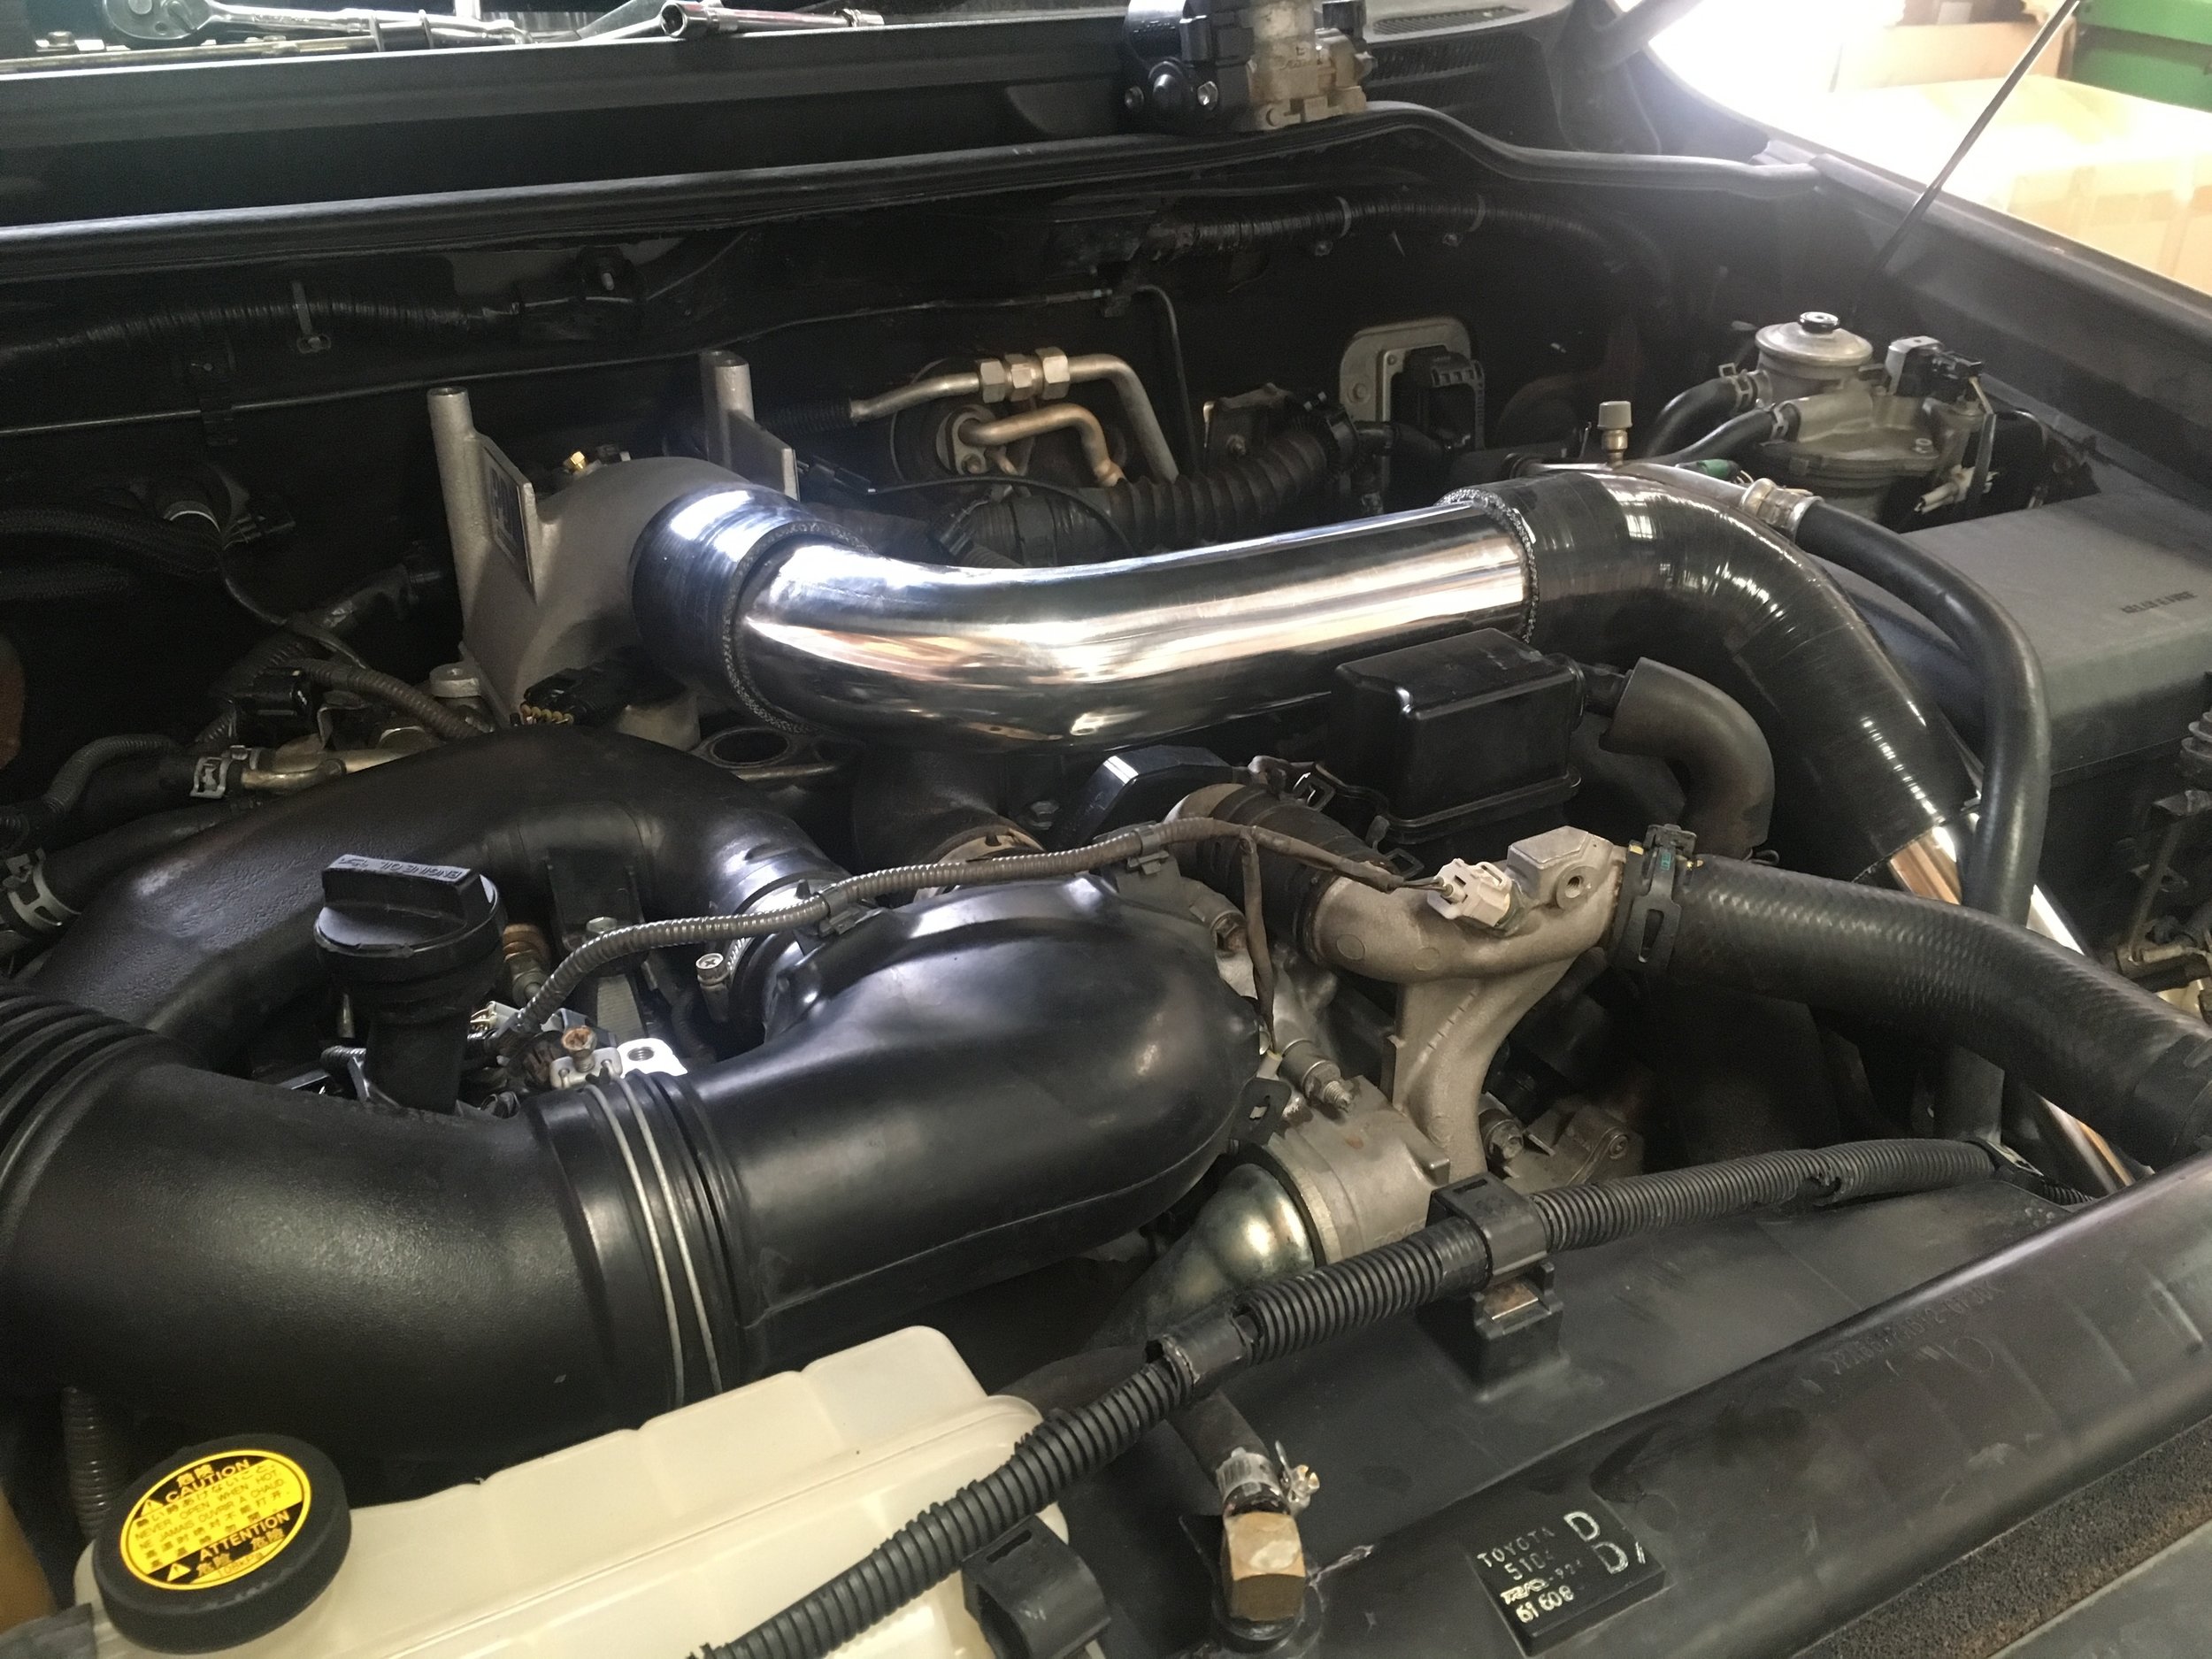
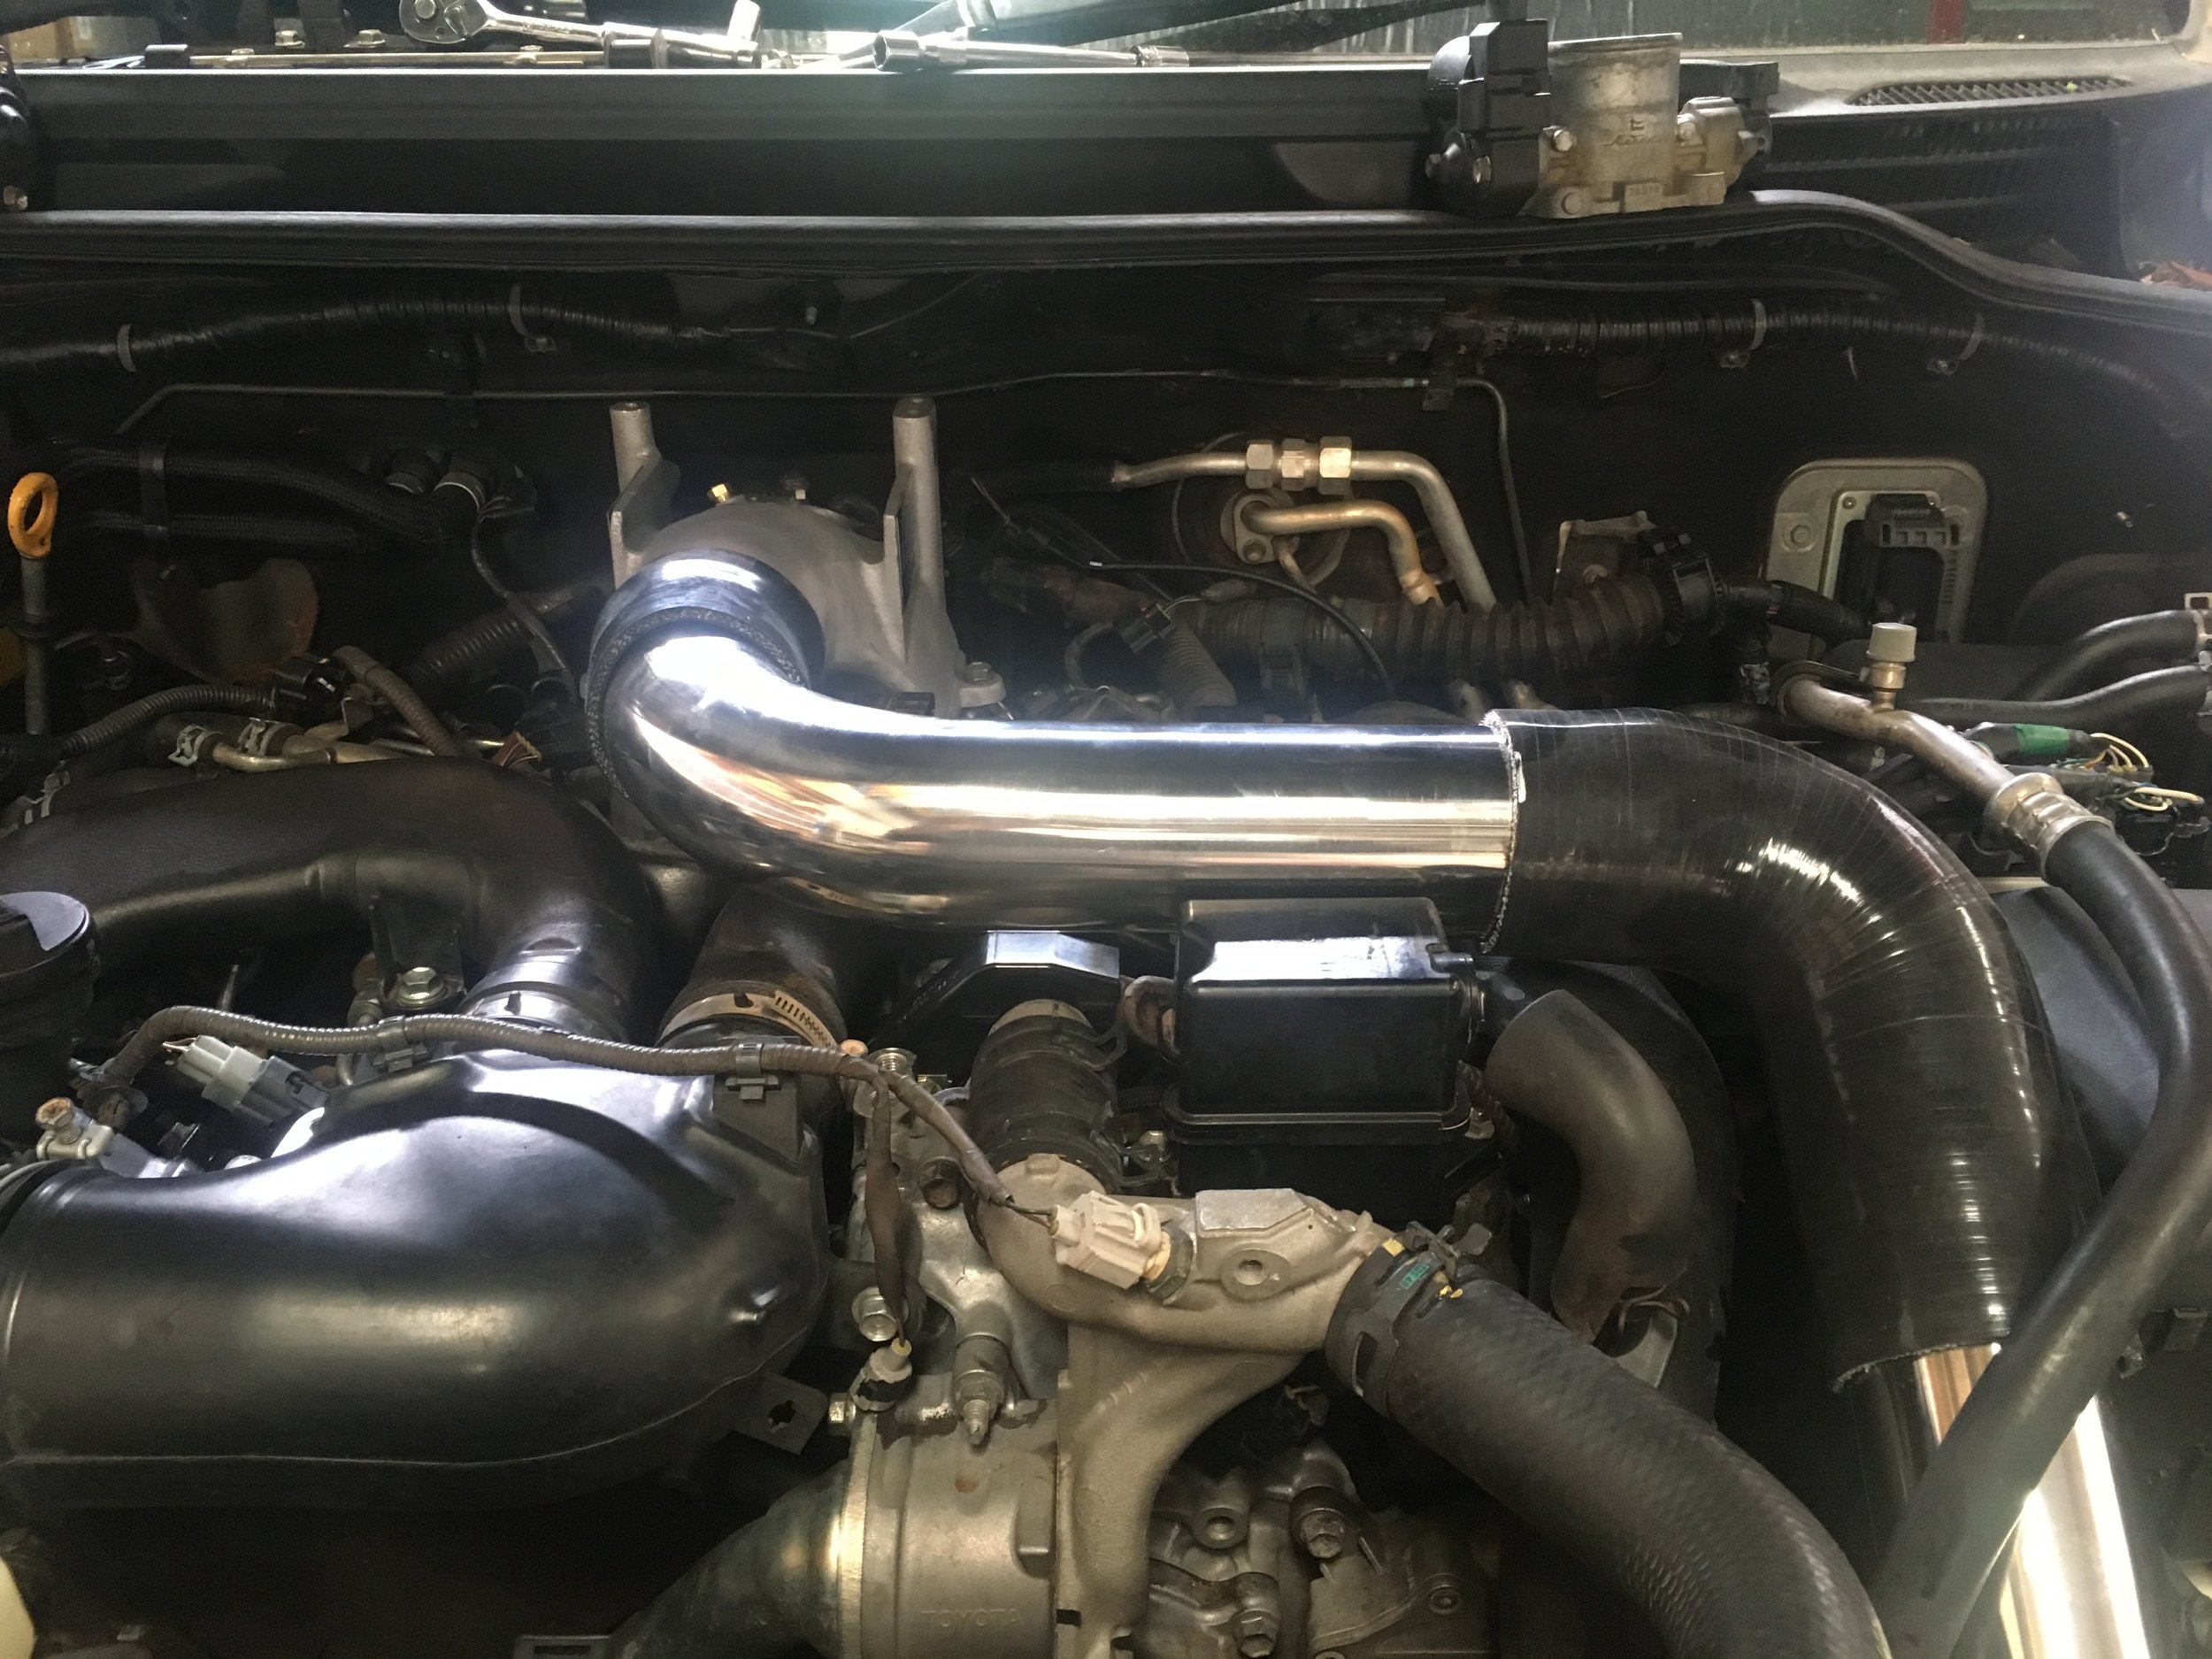
Mid 2021 we had a quick FTE powered manual 105 Landcruiser. With 302kw and 1060nm at all wheels it was fast. Doing 110kph on gravel and if wanting to accelerate it would start throwing rocks from all wheels. Fitted with:

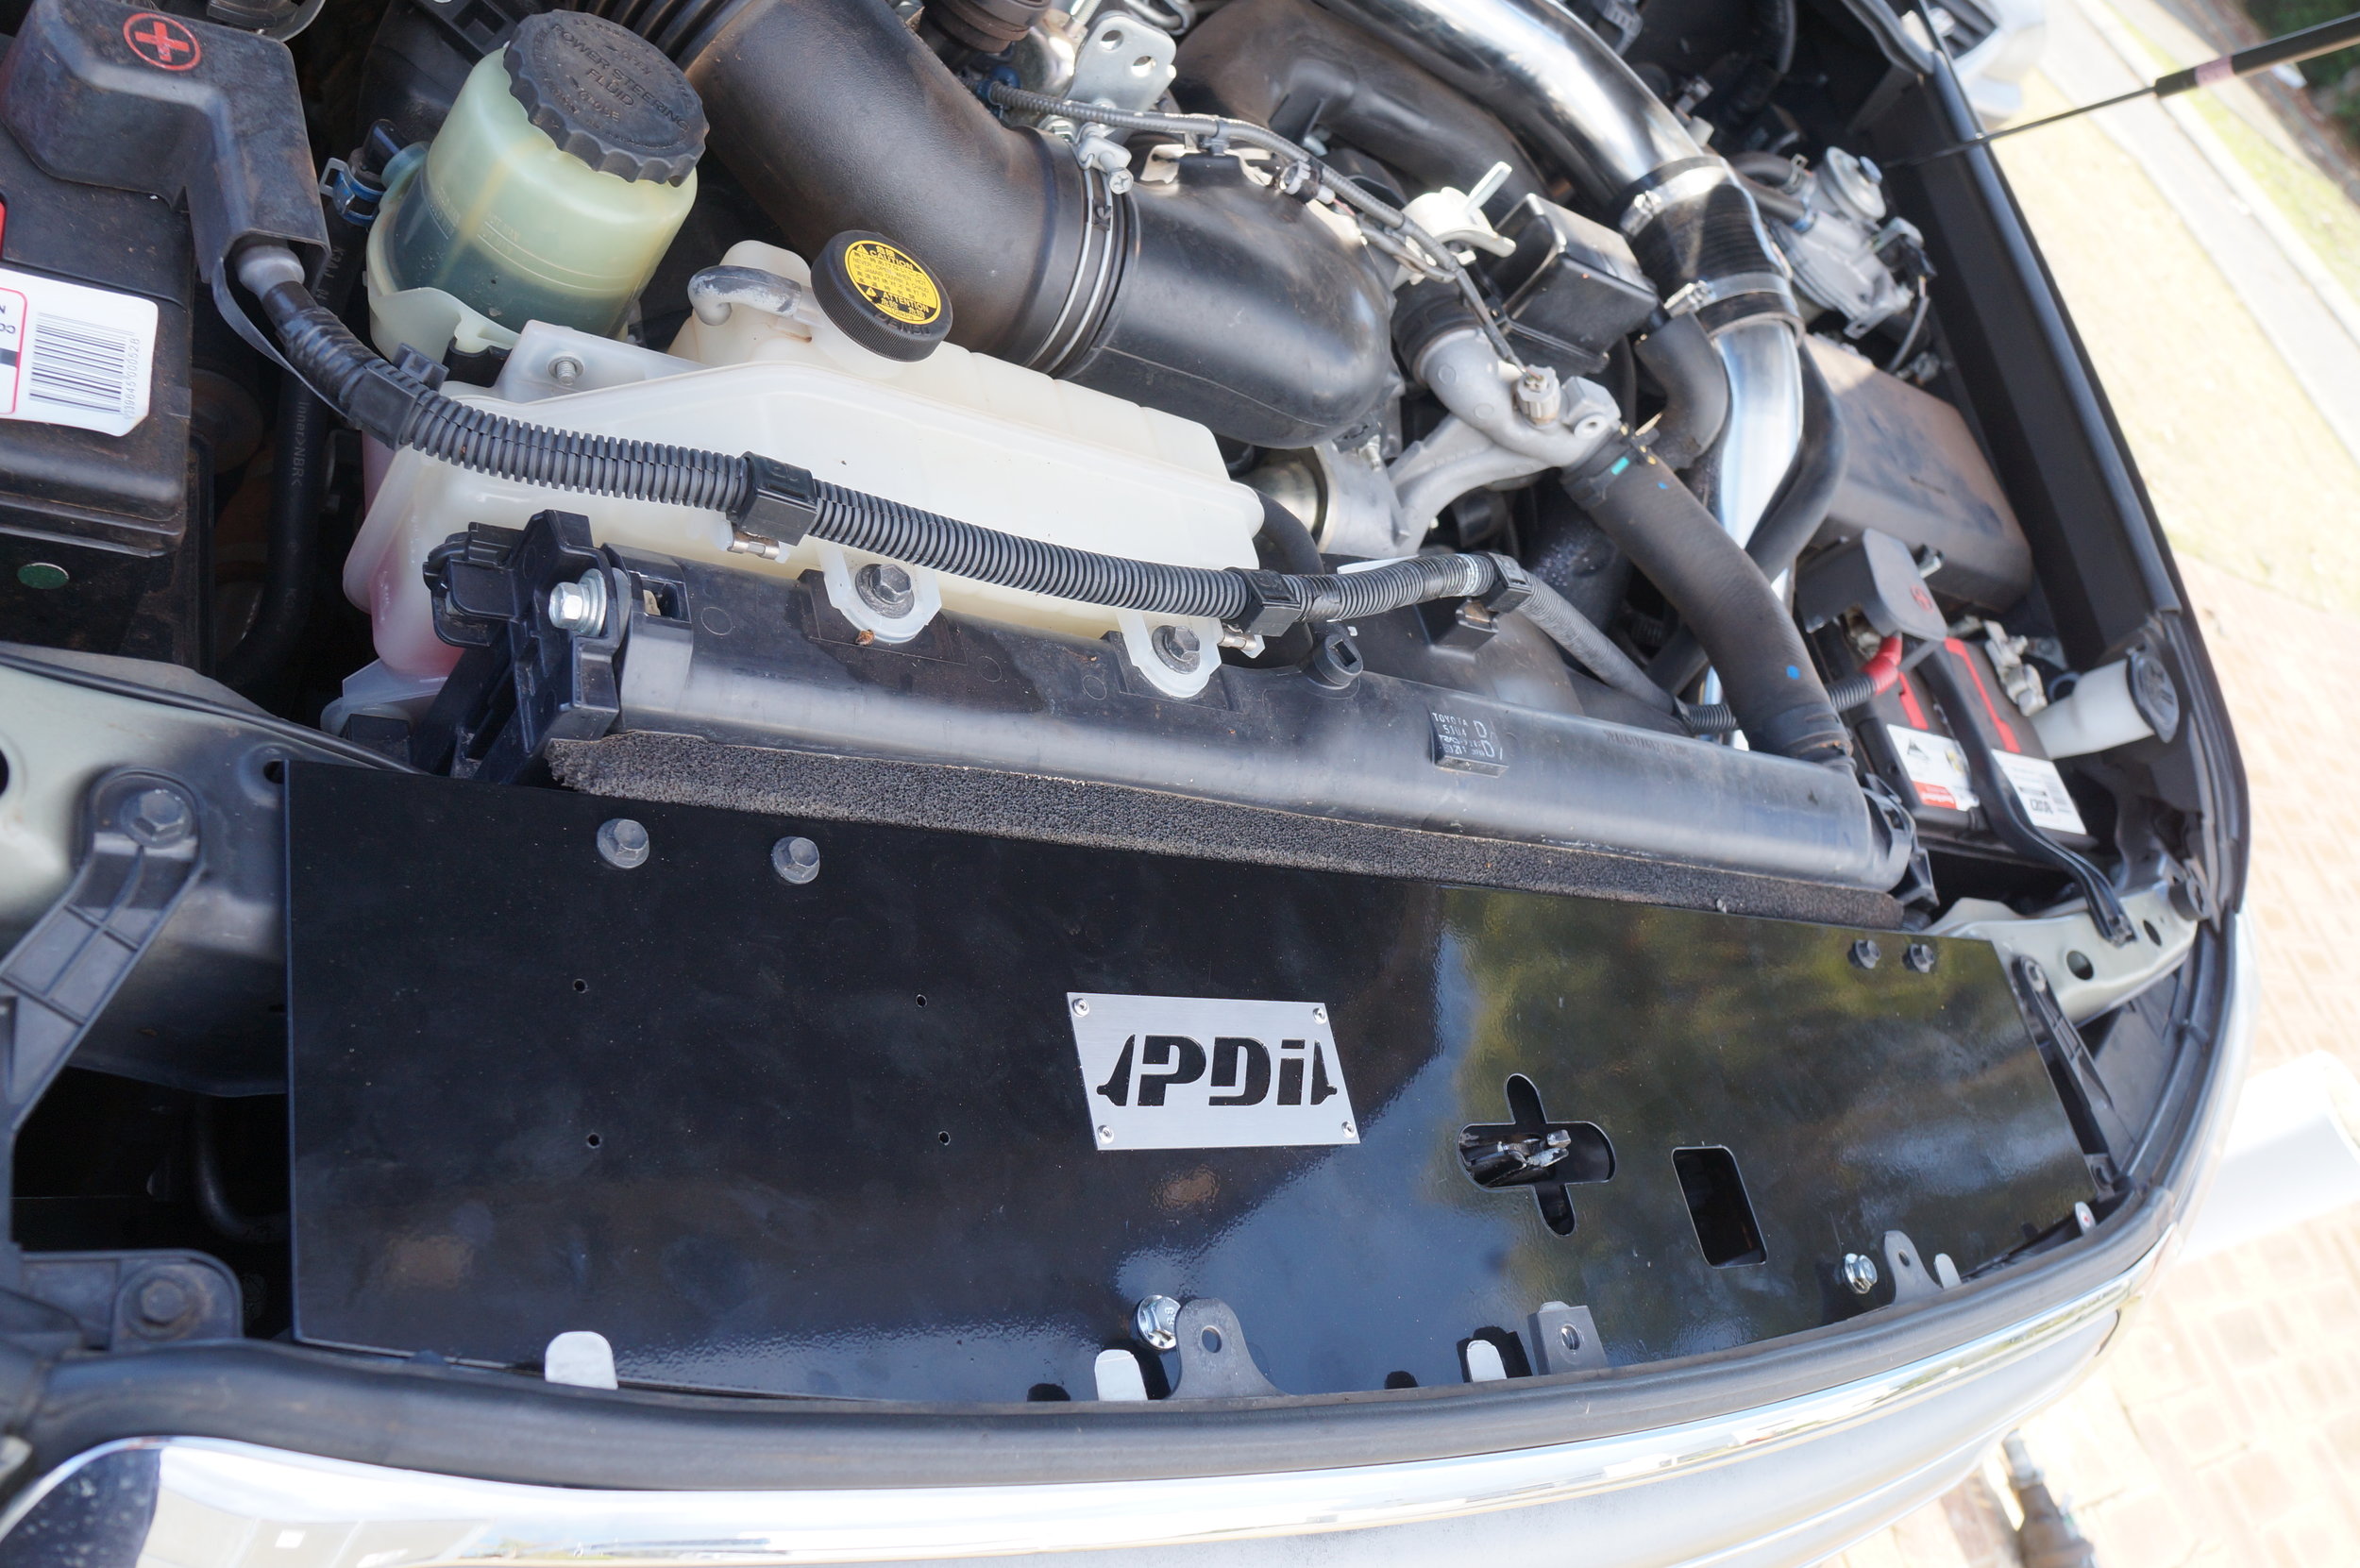
  • PDI Mk2 front mounted intercooler.

  • PDI high flow airbox

  • Gturbo blue wheel running 42psi boost

  • Gturbo tuned DTE tuning module

  • ADS injection +70 injectors

  • NPC 1300nm clutch with machined factory flywheel.

  • Factory diff locks with PDI 3.55 diff gears

  • viscous coupled transfer case.

While the manual gearbox was doing the job, we felt it was at its limit, so started investigating alternative transmission options. Initially the 4L80 seemed to be commonly discussed, but that was discounted for various reasons.

We found some good information about the Ford 6R80, which is basically a ZF 6HP gearbox made by Ford under license from ZF. It has a number of improvements and was fitted to the Mustang and F-150 and was also fitted into the Australian Ford Ranger. information indicated that standard they could handle 700-1000hp in standard trim and with a few replacement parts could be strengthened to handle up to 1200-1400hp.

For testing we purchased a 4.5L petrol auto 105 series and did an engine swap. A European spec 1HDFTE was fitted with a similar upgrades to the above, but raising the bar to the next level using a custom GTurbo Blue wheel. We expect this will allow our max power to go up another 10-15kw (310-315kw) with better low end response. While the FTE was in front of the A442F, we learnt a few more tricks (and is something we will explore further), but still had to limit the power to stop it flaring on gear changes.

The fitment required custom adapters for bellhousing onto 1HD engines and on the back to allow the Toyota transfer case to rear. Custom crossmember and tail shafts is also required. We had the guys at Allfast Torque Converters do a custom triple plate torque converter.

The transmission controller we found was one of the reasons we chose the 6R80 and so far it has proved to be up to the task. Lots of functions haven’t been explored but we have good control over gear changes, tweaking the up and down changes, plus we have fuel cut on gear changes. Other options exist for different maps when in 4WD.

We have learnt lots about the 6R80 and this has pushed us to doing a range of transmission coolers to suit the Australian market including for the Ford Ranger and Everest plus the Isuzu, Holden and Toyota 4WD.

First impressions. Very smooth in all gear changes and tightens up nicely when pushed harder. We are confident this is going to hold the power we are chasing and will survive long term while towing and for some occasional aggressive driving.

Dual battery setup on our Landcruiser (to ensure we can get home again)

Typically in a dual battery system there is the:

Auxiliary - Used for running the fridge and external lighting etc and generally it would be suggested this would be a deep cycle.

Main/Starter - normal lead acid for running the car.

They are linked together by a solenoid, DC-DC charger and the most popular one seems to be the Redarc smart charger, which links the batteries when a preset voltage is exceeded and is the simplest to install as extra wires etc are not required. It is charged by the alternator. Im not a fan of the smart unit on the side of the Redarc solenoid because it will always pull the voltage down with the energy required to keep the solenoid powered unit the voltage drops - I would prefer to keep battery voltage at max when parked.

The drawback in the aux/main setup is that (like happened to me) you can setup in a remote location somewhere for a few days and the auxiliary is drawn down by the fridge and a power drain on the cruiser.  At this point I couldn’t see why on earth the above setup is any good so considered a way to isolate the starter battery.

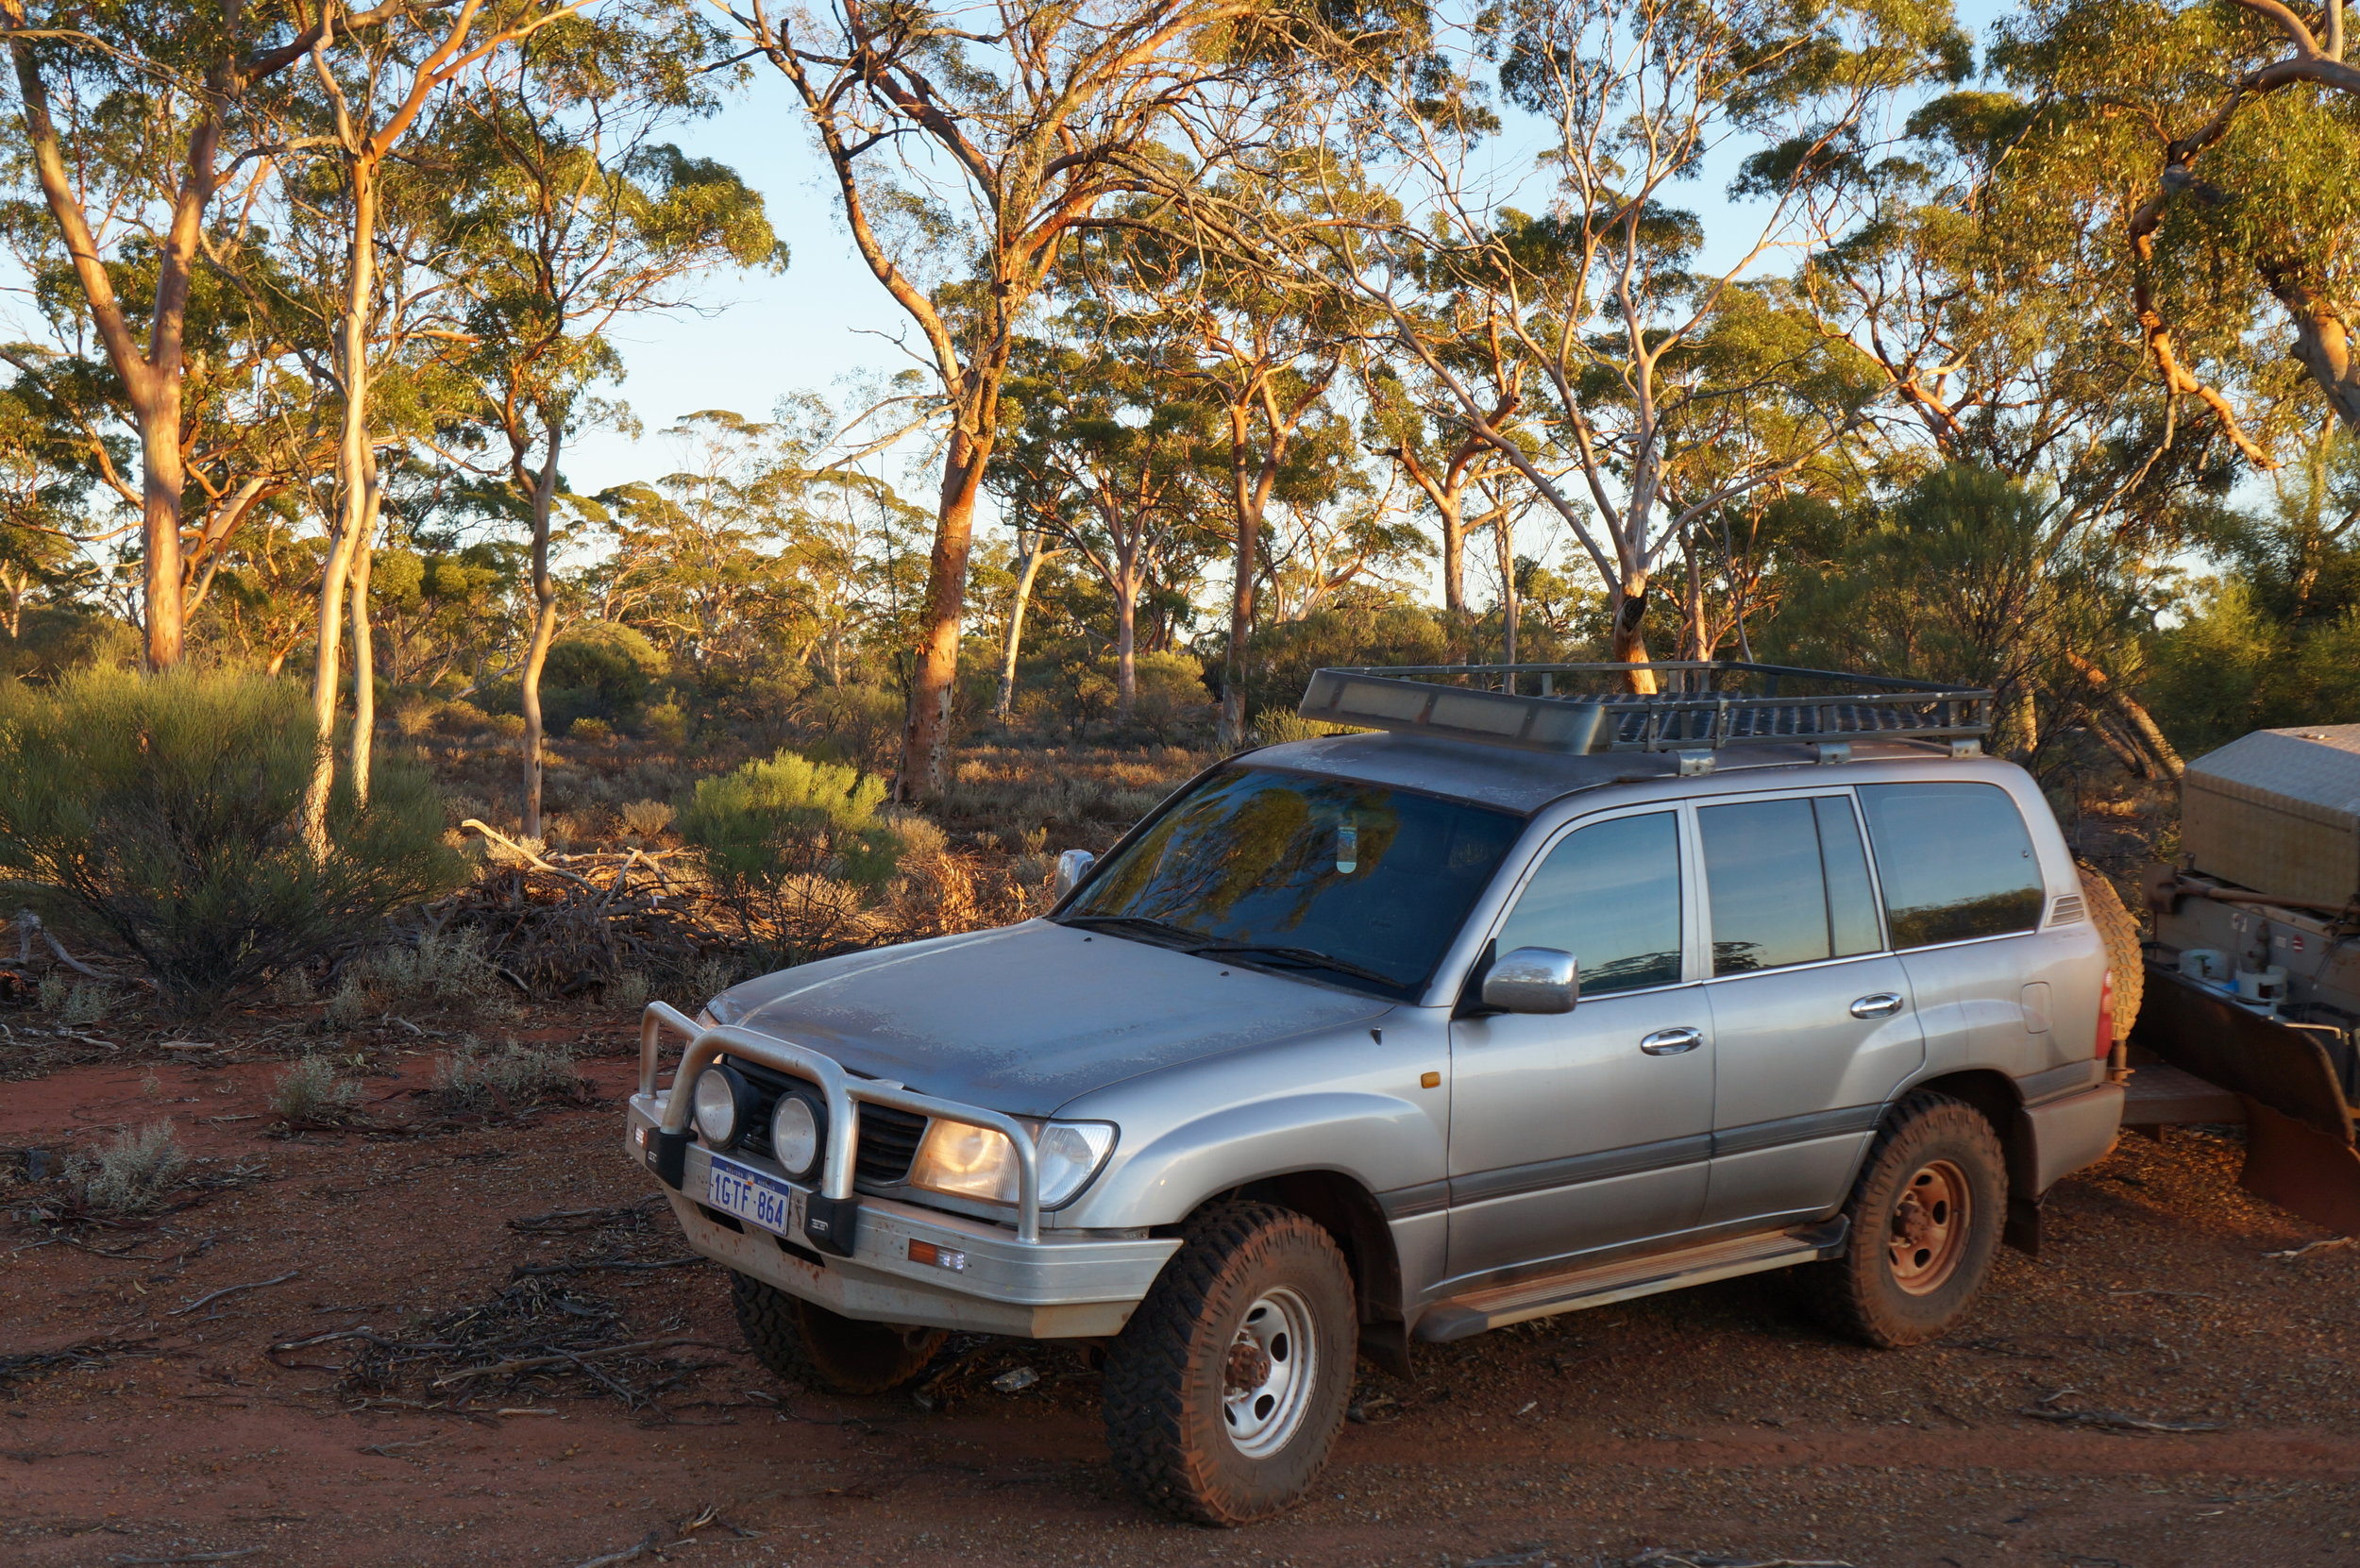
Dual battery setup in the Silver 105 Landcruiser.

This suits me as I tend to only stop in one place for a max of two nights and the fridge (running off the car) is a 40L Engel.  The camper trailer has its own fridge with two deep cycle batteries and a solar charger.

 Cruiser fitted with two normal lead acid batteries under the bonnet, which are actually the green Amarons. Individually defined as “Starter Battery” and “Main battery”, where the main battery runs everything in the vehicle when the key is turned off. The alternator is connected to the main battery.

 The starter battery is isolated from any current draw when the ignition is off as it is connected:

1.     To the starter motor (solenoid)

2.     To the solenoid with a heavy lead

3.     To the switch in the cabin to access power to close the solenoid – described later.

 The two batteries are linked together with a basic solenoid, which is closed when powered from the ignition when the engine is starting, running and charging.  IF the main battery is completely dead (or removed), the solenoid can be closed by taking power from the starter battery to link the solenoid.

In-cabin control over the solenoid is done using a three position switch, positions being:

Up – default position where both batteries are linked while starting or if the engine is running. Gets power from the ignition supply.

Middle – no connection which is useful is you want to isolate the starter battery such as if your alternator dies and you need to preserve the starter battery.  This wire is connected to the solenoid activation.

Down – (momentary so it will release unless being held) takes power from the starter battery.

We mount the solenoid close to the positive terminal on the passenger side on a bracket off the inner guard so the leads can be moved onto the solenoid posted with a minimum of fuss. For FZJ105 or late model cruisers the fused/fusable links block should be moved around onto the solenoid and the starter wire left on the battery terminal. An extra short lead should be added to the battery terminal and go to the other side of the solenoid.

Other Considerations:

I don’t like mounting a third battery in the engine bay as the inner guards aren’t strong enough to support them long term when belting down dirt tracks.  If I needed the extra power storage then this would be lithium mounted in the back of the wagon charged by an integrated solar charger/ DC-DC unit.

For solar chargers the minimum requirements should be:

1.     Maximum power point tracking (MPPT), which is 15-30% more efficient than other units. It doesn’t move the panel, just adjusts to get more current when the panel voltage rises.

2.     Prioritises solar input even when input from alternator is possible. Older systems would stop using solar when the engine was running.

3.     The panel must not be partially covered, such as under a roof rack as this will significantly reduce its output.

There are a number of battery options.  The common types are deep cycle or normal lead acid, but Lithium batteries are coming down in price so worth considering as alternatives for deep cycle as the weight is significantly lower than lead batteries.

Deep cycle batteries 

PROS - are designed to be better at longer discharging whereas a normal lead acid battery likes to be kept fully charged to get a long life out of them.  They are ideal for caravans and campers to run your fridge and other devices

CONS - Deep cycle batteries like to have a specific charge method and are best charged using a DC -DC regulator/controller instead of directly from the alternator. If you run a deep cycle down over a few days then to charge off the vehicle you will need to drive for a few hours unless you have an expensive high amp rateed DC-DC.

Most deep cycle batteries are not rated to effectively charge when hot (ie engine bay) and you will not get a good life unless mounted elsewhere. 

If you expect to be stationary for a few days then a deep cycle system with solar chargers are a good idea. 


Touring through the North West Australia

We have done a quick build on a FZJ105 (petrol manual 105 GXL with factory diff locks) to be the family touring rig. It tows a solid camper trailer that has been more places than many will dare venture.

The Landcruiser has been converted to have the 1HDFTE then fitted out with a list of “essentials” as listed below

PID Mk2 front mount intercooler - the largest we could fit in the front with full custom end tanks.

PDI 100/105 Airbox - utilising 200 series element in a full cast alloy housing and over centre latches to secure the lid. Has 4” in and 4“ out with a water drain.

Gturbo red wheel Vortex - punches out a bunch of power while still having a strong bottom end.

DTE tuning module - tuned by GTurbo for optimal control of fuel with the high flow injectors.

PDI infinite adjuster for the tuning module to smooth out the power delivery with the cruise control activated.

+70 injectors to make it go well.

3.5 ratio diff gears.

So how does it go?

It punched out over 260kw and 950nm at all four wheels on the dyno. It clearly has no problem pulling the trailer and allow me to enjoy the drive without getting stuck behind caravans or road trains. A lot of the western coastal run doesn’t have many long straight overtaking lanes so being able to overtake on small sections or get around a few vehicles at a time makes it much more relaxing.

Plenty of torque to pull the trailer through soft tracks and get going. So far only a few days into the trip and even though it rained all night, hopefully it will clear up and we can get into Karijini and around the top side of the National Park for a look. Looking forward to engaging the diff locks and giving the system a full work out.

BTW - that means taking orders will be limited in the week before Easter 2019. Will be checking emails when we can but that isn’t easy without phone coverage.

PDI Front mount intercooler with airbox 105 series.JPG

Landcruiser 200 series FMIC Single entry

Landcruiser 200 series FMIC Single entry.

We have been asked a number of times when this was going to come out so here it is for those who which to make things neater in the engine bay. Our cast alloy flange has a very smooth transition from the 80mm pipe to the top of the inlet manifold. We have a location for the inlet air temp sensor and two locations for a boost source - One will be used for the MAP sensor and the other can be for a boost gauge or similar. Also earth points are there for the wiring harness.

To turn off the throttle bodies and remove them your cruiser needs to be 2014 or earlier. For those owning later models ad want to fit the Landcruiser 200 series FMIC Single entry option the throttles must be relocated in the engine bay. Soon we will have a bracket to allow this to be mounted.

The Landcruiser 200 series FMIC Single entry kits will be priced the same as our dual entry items at $2200 including GST.

http://www.performancedieselintercoolers.com.au/products/200-series-landcruiser-front-mount

HDJ79 upgrades - could it get any better.

Our HDJ79 ute was used as the basis for developing front mount intercooler - standard they have around 90rwkw and now have over 3 fold power increase. A lot has been done along the way to make the daily something we can take anywhere. The process is covered below.

First thing was to fit some of the essentials needed for later upgrades. The cab came off during the process for easy access.
- GTurbo Badboy turbo
- Gturbo tuned and supplied tuning module
- NPC 1300nm clutch
- Safari ARMax snorkel
- check and replace all wheel bearings, new disks and pads etc
- 3.9 ratio diff gears installed, instead of the 4.1 gears, which were driving me nuts with the high rpm. Later we had 3.54 ratio gears installed (see below).

We could then do the first revision of the intercooler which was 500mm long. It was in time for 2016 summer and on a few hot days in Perth we tested the engine cooling ability and air con function. While fully loaded and pulling hard up a long hill with brakes applied we got the intake temps to 250/260 and after the intercooler down to 70deg. Considering it was 30deg outside that was pretty good since a good size (fan cooled) top mount has been shown to drop the temp from 130 to 90deg under significantly less load in the some condition.

We had 187rwkw and strong torque ~600nm. On driving it felt quicker than a wagon fitted with +30 injectors. In a 50kph zone we could still accelerate up a steep hill in 5th gear so it was time to remove the 3.9 ratio gears and fit the 3.54 ratio gears with the solid spacers we had made for the VDJ79. Now rpm dropped to 2000rpm at 100kph, 3rd was now very versatile and we had longer legs in all gears. The gearing like this is a pleasure to drive daily and just feels so normal - we get lots of positive responses about the setup with surprise how little it changes the low speed, which is the main concern for most people. The front diff housing was removed to have a bracing kit welded on for extra strength.

On one of those days, towing a 4WD on a trailer out to the wheatbelt, it was so hot that cool drink cans in the tray were bulging and a few burst. The engine did not overheat and the air con cooled better than ever before - icy cold. We knew that we had an effective solution so we designed custom moulded end tanks that allowed us to have a taller and longer core to use the full grill opening.

The next step was a set of +30 injectors as this makes a step change to performance. This gave the ute 240rwkw and over 800nm torque. For both towing and normal driving it was excellent and couldn’t be stopped. On a drive to Kalgoorlie towing a empty car trailer for 600km and another 300km with a cruiser wagon on the back it gave 16L/100km. The factory modified airbox was starting to have an impact on power, but without any options I felt were satisfactory we kept the standard airbox.

Then we did a performance upgrade for a customer with turbo, intercooler and module. His car powered up as expected and he was very pleased. During the test drive I realised how bad 79 series brakes are so started testing some different brake upgrade options. We came up with a larger diameter booster in double diaphragm arrangement and the result was impressive with sport cars stopping capability. Later we got braided flexible lines fitted for a bit of satisfaction and are available on our website.

Next we swapped the +30 injectors for some +70 injectors and cracked the 300rwkw mark. As a precaution we gave the gearbox and transfer case some additives to improve longevity with the new power level. At this point we had to switch over to a pod filter to make the power as our modified factory airbox was holding us back by 20kw at the 260rwkw mark and was getting worse. The pod was too loud so this was the start of the development of the PDI airbox range made from cast alloy to ensure box rigidity and allow for use of the 200 series filter panel. The time from design and development to final sales is sometimes longer than can be imagined.

Now that we were running almost 40psi boost we developed the 76mm thick core. That still fits very nicely behind the factory grill and uses the same piping and brackets.

With the GTurbo badboy red able to make over 30psi by 1750rpm we had great power on the highway so maintaining and watching the speedo become tiresome so a cruise control system was required. In our case we shoehorned a factory cruise system out of a different model.

Another consideration was to be able to have adjustable power so we designed an infinitely variable adjuster for the DTE/DPU modules/chips that in our case means we can have anything from around 170rwkw to 311rwkw available. This is great for reducing aggressiveness for driving in heavy traffic or on wet roads. Our ute is fitted with a Torsen front diff and the front hubs left engaged during winter for maintaining traction when required. 

The ute now accelerates and pulls up faster than most would think possible. These upgrades are all relatively straight forward and can be done on vehicles even with high km. Recently we heard of a ute going in with 89rwkw and leaving with the same mods as our ute and achieving 283rwkw. Torque had increased too, but had been limited due to clutch slippage of unknown clutch.

As for getting better, after driving the GTurbo test mule HDJ79 fitted with their hybrid VNT turbo design it is clear that while ours is quick, that one is next level again feeling like the ute has no weight at all.

Screen Shot 2018-10-26 at 8.12.45 am.jpg

Updates to kits and new stock almost available

Things are gearing up.

We are about to have plenty of stock of our HDJ79/HDJ78 Front mount kits and we have a lot of interest in these as they are a neat install and are very effective.  These kits can be fitted with different options including the crossover delete for the FTE and any of the engines 1HZ, 1HD-T, 1HD-FT and 1HD-FTE.  

Our 80 series kits are proving to be popular due to their excellent flow and a core that covers almost all requirements.  These are in stock and, like above, we can support each of the engine installations as listed above.

Our V8 VDJ70 series kit is being updated soon to the Mk2.  This kit has improved fitment and flow capability on the cold side pipework.  We have seen systems boasting equal length runners and balance pipes to the two throttle bodies.  While that may seem like the logical thing, if you checked inside the manifold between the throttles you will see it enters a single chamber.  The reality is that if you chose to connect to only one throttle you would not see any impact up to a point, and we suspect that would be well above standard power. Our kit has a 2.5" feed directly into the end and a 3" feed crossing the engine. 

The effort to try get the same flow through both throttles comes at a cost to flow capability or intercooler exposure.  Our kits are front mounted prioritise intercooler exposure to cooling and next getting the air from the turbo to the manifold the most effectively.

We've seen some nice pictures of mounted intercoolers that look huge with the front stripped down but once reassembled we are still confident ours have the best exposure to airflow and therefore cooling.

Dont hesitate to contact us about our intercoolers or want to discuss other modifications you wish to make to your Landcruiser.  We will do our best to help you make the right choice.


News on Facebook

Now that we have our Facebook page we will be posting on there.

The 80 series kits that went out of stock are almost back on the shelves and by all indications will sell fast.  The design has been changed to improve fitment and will go over between the airbox and the engine rather than under it.  The piping will still be 2.5" and will stay out of the wheel arches as it goes under the battery boxes.

We have some HDJ79 kits ready for delivery that are well suited for those running standard injectors or with the turbocharged 1HZ.  The next generation of kit suited for higher output with a bigger core is almost ready.  This will support those owners who are keen to chase the maximum potential from the 1HDFTE.

Almost ready to sell the kits for the Hilux KUN26.  Looking forward to having them available and hope to price them to make it an easy decision to buy one.

The next kit under development will be a front mount for the 200 series cruiser.  This is clearly a challenge that we want to accept and will result in the biggest core of any of our kits.  Once available they will support future upgrades to the turbo and fuel system.

Online at last. Now to develop the HDJ78/HDJ79 kits

As the first few products are being prepared for sale, the website has gone live. It has been a long time coming and its a great to see.

There are kits that need to be developed and we are working on them too.  A good friend has the trusty HDJ79 ute and was part way through doing an intercooler installation last year.  Its now been finished and punches out 220rwkw.

As I can't miss buying a 1HDFTE at the right price, I also have one and now I need to turn my attention to a neat installation that will be equally appropriate on the farm, street or for the next outback trip.

intercooler installation